
In case you missed it, I was playing a unique mission against Col. Gravis - 1000pts, infantry only - and he was defending. Gravis's version of the battle report [linked] is more comprehensive than mine, but please find below some more pretty pictures:
Deployment:
This pic of the Praetorians' deployment has a real '2nd Edition' feel to it¬


Turn 1:
The Praetorian mass surges forward ¬

Turns 2 and 3:
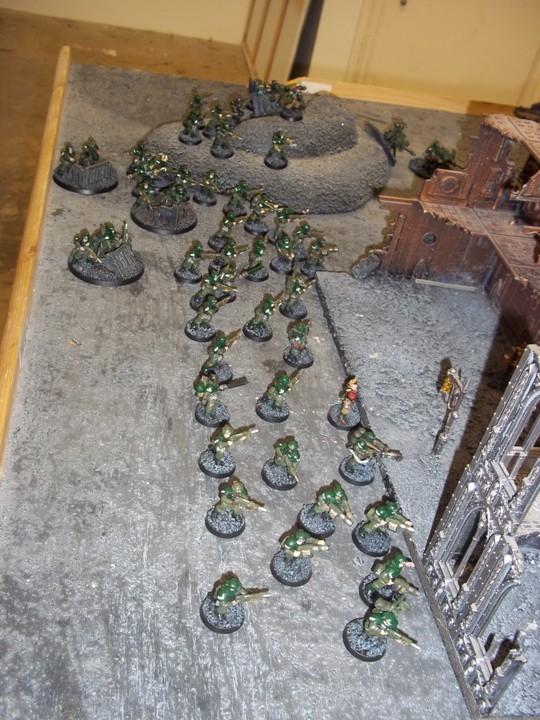
SURPRISE! A scenario special rule and a lucky roll of '6' means the Reds sneak on right behind the Greens! Oh no! ¬


As the Cadian reserves move onto the board, the battle line swings its axis through about ninety degrees and they start - slowly - to hand back the pain ¬


But the fighting continues, and despite their CO falling to the jaws of the Cadians' regimental corgi, the Praetorians just keep on slogging forward under the watchful gaze and level bolt pistol of the Commissariat ¬


Finally, the Cadians' numbers and superior long-range firepower take their toll, and the Praetorians start to fall ¬


To compensate, here's a pic of Gravis's mortars again. They moved up to support the battle line, but sadly only got one lucky shot in all game:

Cheers,
- Drax.
"Falling to the jaws of the Cadian's regimental corgi" is just a superb line! I need to find time to get down to the Lair.
ReplyDeletethere are far too few tanks for my liking!
ReplyDeleteBeautiful stuff - looks like it was a hoot! That is a fearsome amount of infantry on both sides of the table - looking forward to seeing more!
ReplyDeleteNo tanks! I love it!
ReplyDeleteAnd I also gfawed at the comment about the regimental corgi.
Agreed, no armor! Great fight.. you don't see this enough in 40k anymore.. great!
ReplyDeleteAdy - it'd be a pleasure to see you there!
ReplyDeleteI always enjoy infantry-only scraps in 40k, and this was particularly fun.
The second battle was a bit more conventional in terms of armour on the table...but it's still worth a look when I post it, not least because Gravis's Malcador is a thing of beauty.
Lovely job on the report and the pictures, I should of taken more!
ReplyDelete