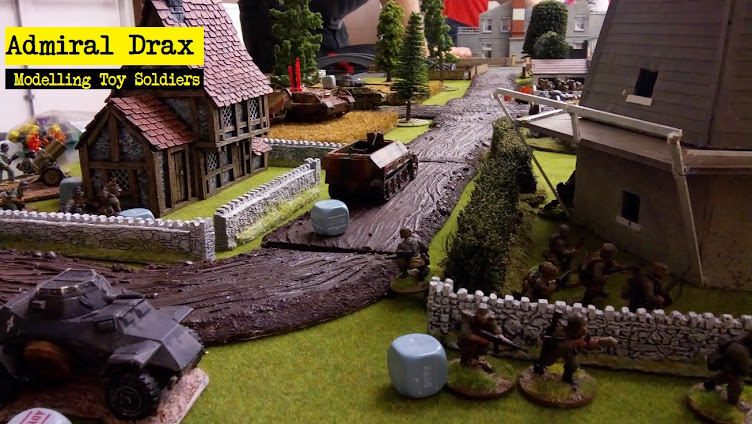
To recap... I've been a busy beaver recently: not only have I got a bunch of modelling and painting done (details soon) but I've also been play-testing a scenario I wrote for Bolt Action. As I've played it twice now, rather than try to present two different battle reports as well as the scenario itself, I think I'll just outline the scenario in this post (with some pretty pics from Game 1 in the last post, here(link)) and then reflect on it a little in this follow-up post, with some more pretty pics from Game 2 to illustrate.
To re-recap...
The basic idea is that the attacker has to come on from two table edges to blindly advance to engage a defender whose forces are completely hidden practically anywhere on the table (marked on a map, rather than placed on the table) in order to take the centre ground. Both sides start with just half their units (either secretly deployed or in the first wave) and all else arrives from reserve. The attacker has a 20% points advantage and a preliminary bombardment on a 3+.
In the first game, I had attacked with my Heer against veteran British and lost badly. For this second game I was attacking again, but this time with my 4KSLI Brits against Steve's Germans...and I won!
 |
| The table during turn 1. By this point my carrier has uncovered the hidden Fallshirmjager (bottom-left) and then been rumbled by a hidden PaK40 (mid-left). It died quickly. See pic below too: |
 |
| The hidden PaK40. Effective camo net! |
 |
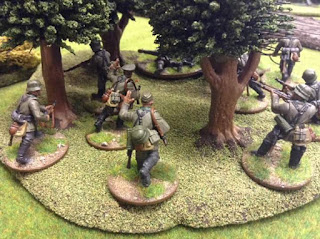
| The Fallshirmjager killed off the passengers too, but were themselves wiped out by more of my advancing recce screen. |
 |
| Meanwhile, I also advanced in the centre, toward the objective ruins. |
 |
| My Stuart Jalopy led the charge against the incredibly resilient Fallschirmjager on the upper floor. |
 |
| Suddenly, the Jalopy felt rather...vulnerable. |
 |
| Beside the building, you can see my PIAT team edging bravely forward to engage the Tiger. They hit it twice, but to no effect. So it goes. |
 |
| Steve's last remaining squad deliver shooty-shooty death to the brave PIAT team. For them, the war was over. |
 |
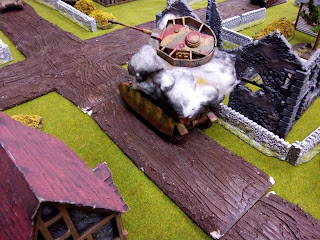
| In comes the cavalry... ...but that 75mm gun also struggled against the Tiger, and the blasted thing kept slinking away behind the cover of the ruins. Grrr. |
 |
| This was pretty much the end for the Germans as the boys from 4KSLI - supported by the RAF Regiment - stormed the ruin and defeated the beleaguered defenders. |
 |
| End game. |
I'm not actually going to go into any more detail about the scenario itself, as I may yet publish it elsewhere, but it was brilliant to get a chance to play-test it a second time, and I was very grateful to the assistance and notes from Steve and Guy. Without a shadow of a doubt, I absolutely love, love, love advancing into a scenario when I know there is an enemy force lurking, but I've absolutely no idea what or where.
So. Much. Fun.
I shall leave you with some of the pics I took of my troops, just because.
 |
| Rock Apes, manning the carriers. |
Thanks for swinging by,
- Drax.


